Ahh, all is said and done and a champion has been crowned for 2012.
All told there were 10 players, including a ringer: 3 Imperial Navy, 3 Chaos, 1 Orks, 1 Craftworld Eldar, 1 Tyranids, and 1 Space Marine (me!). 7 of the 16 didn't show up, which was rude. Oh well!
There were three scenarios: Fleet Engagement, Secure the Artifacts (original), and Deny the the Spoils (original).
Additionally, there were five sub-mission cards, of which you would could choose up to two to complete each game, with no repeats: Head of the Snake, Attrition, Breakthrough, Commerce Raiders, and Preservation of Fleet Strength.
Lastly, you get a bonus point each round for successfully navigating the Warp Rift.
Now, as you read the following summaries of each game, keep in mind that I played two short games the weekend before this, but otherwise haven't played for two years. That's a long time without one of my favorite games evar! Just wish more people around here played

.
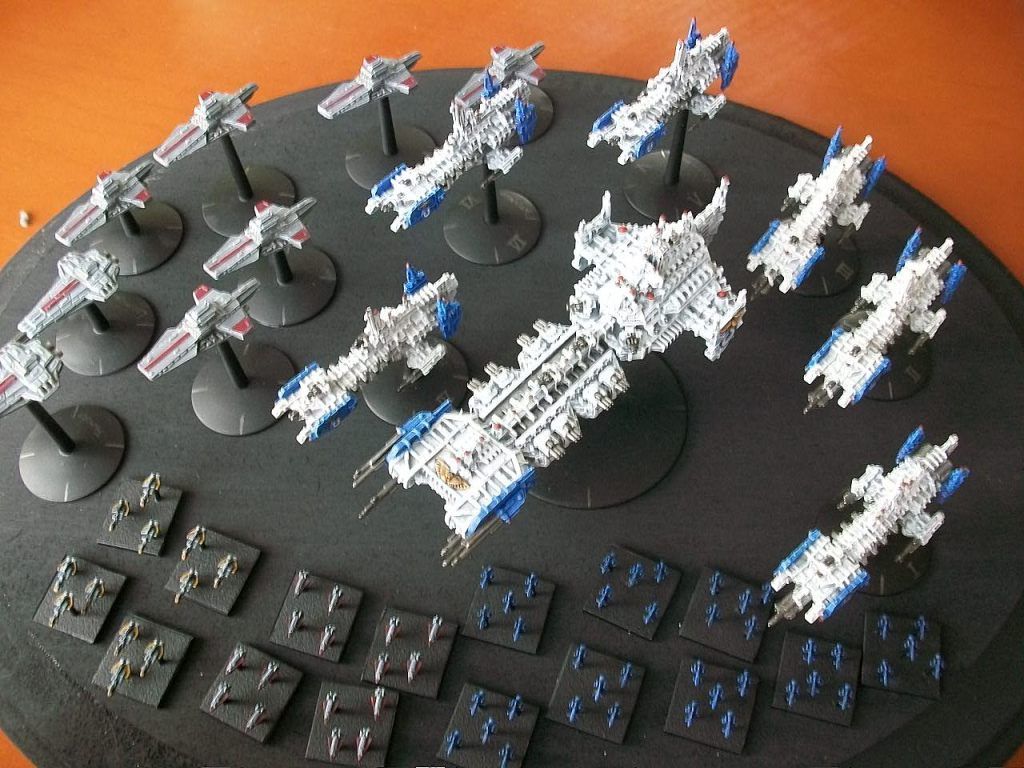
My fleet, the Ultramarines, Space Marine Dominion Fleet list from the 2010 Compendium (gooo, fluffy list!):
Seditio Opprimere - Master of the Fleet, 1 Reroll
3 Strike Cruisers - extra shield (squadroned)
3 Strike Cruisers - extra shield, extra bombardment cannon (squadroned)
6 Transports
2 Escort Carriers
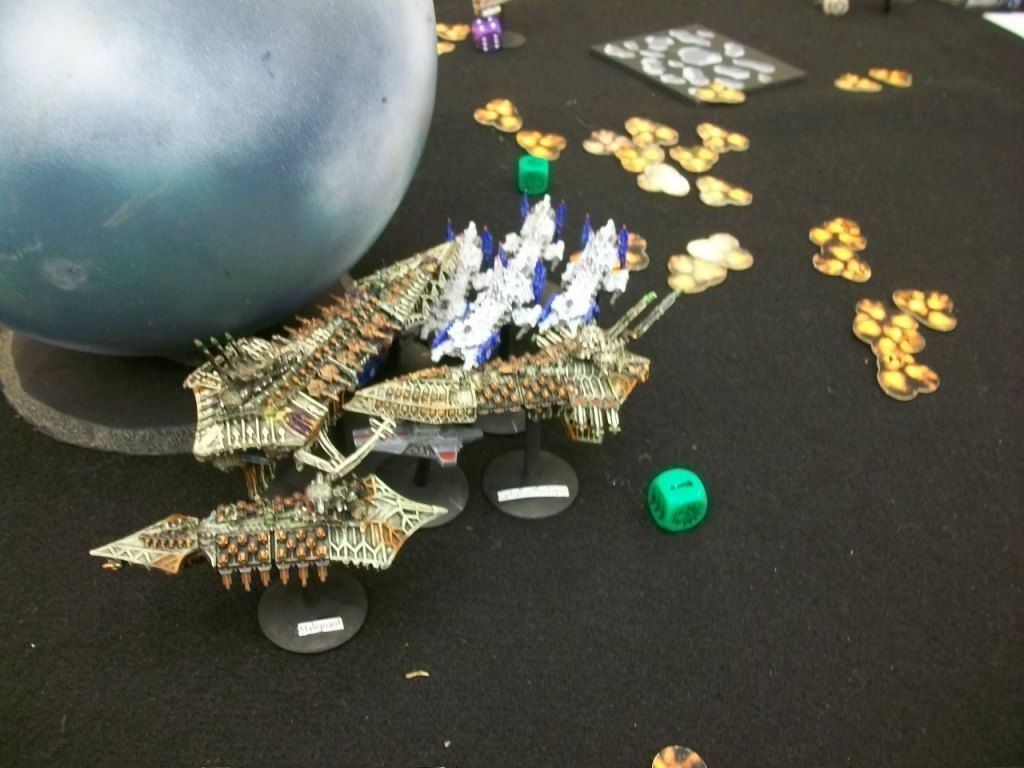
 Game 1 vs The Ringer
Emperor - Ld9 fleet commander, 1 or 2 rerolls
2 Gothics
1 Lunars
2 Dauntless's
5 Swords
5 Cobras

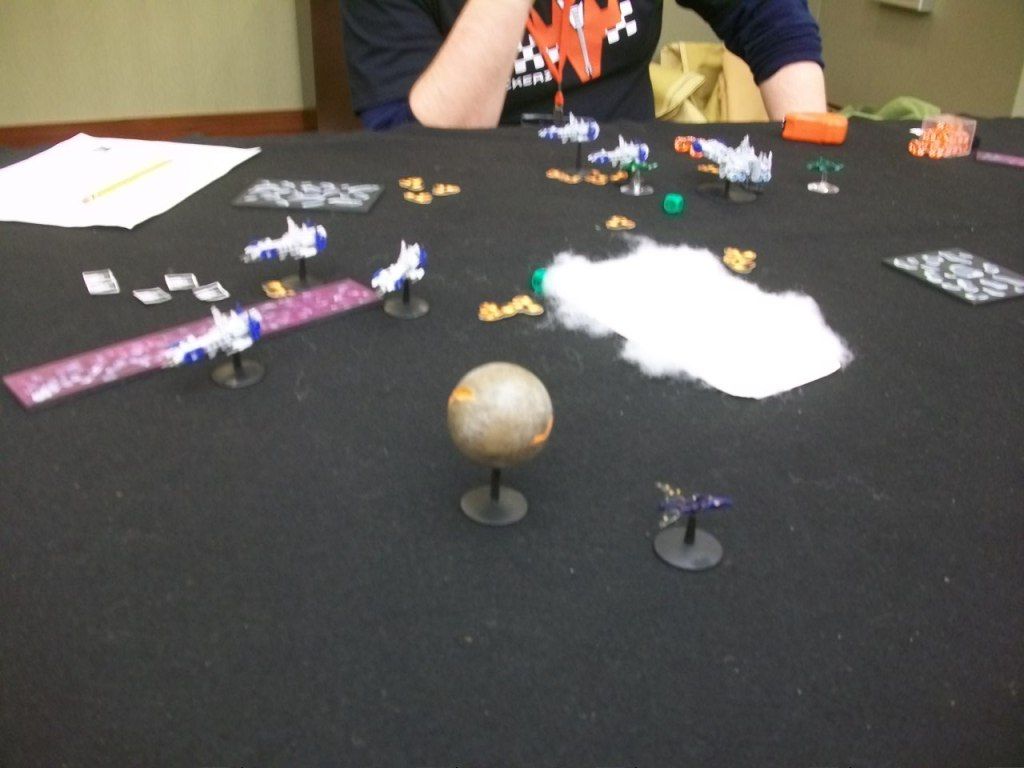
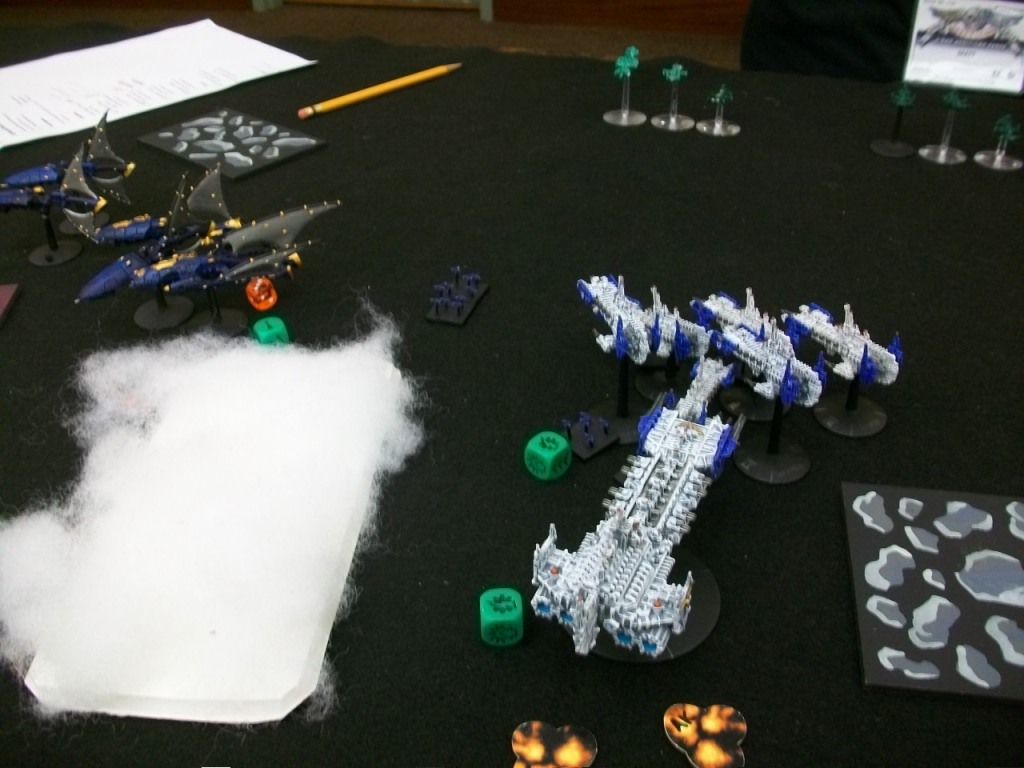
I chose Wedge and he chose Cross, so we set up like the lanes of traffic. I had the battle barge in the middle, with the carrier cruisers to my right and bombardment cruisers to my left. The Escort carriers took up position behind them, while my transports hugged my table edge in the middle. I chose the Head of the Snake (cripple/destroy flagship) and Attrition (destroy enemy fleet) as my sub missions. He set up the Emperor and a squadroned Gothic and Lunar, as well as the Swords on my right, a squadron of two Cobras and the other Gothic in the middle, and the transports and other 3 Cobras on the left. My leadership rolls were meh, with the cruiser squadrons at a 9 and both transport squadrons at 6. There was plenty of terrain scattered about, so this was going to be interesting.
The first couple turns saw us close the gap. The Cobras on the left went to navigate the warp rift...and never returned. Oops. In the middle, the Gothic cruised straight on down toward me, impacting on shields when I let it have the range. The major action was on the right. By the end of the second turn, I had hulked the Gothic, destroyed most of the Swords, and sent the Lunar into a panicked bracing. A Cobra had also been made into space junk.
The next couple turns saw a concerted boarding action of the three bombardment cruisers against the Emperor...I failed by 1, d'oh! Some more maneuvering and battle saw the other Gothic start to take some hits, and amusingly the last Cobra was destroyed by the combined effort of my transports! He had tried to sink some with some torps, but combined turrets took them all out before they could hurt me.
In the last couple turns, the bombardment cruisers used the planet to quickly swing back around toward the Emperor, who very rudely boarded one of my escort carriers that got in the way. Needless to say it went poof...in return, after having dealt a lot of damage in a couple rounds of shooting, the bombardment cruisers again moved in to board and this time were very successful, destroying the ship. Elsewhere, the rest of my fleet mopped up remaining ships, leaving me with two hulks to claim.
He managed to deal out 6 points of damage total to my ships, but only crippled a single SC. He did take out an escort carrier for points, though.
Result: 1680 VP to 70 VP - Massacre! I also fully achieved my sub missions, acquiring a total of 23 battle points. It's not that he didn't try either, he really did. It just didn't work well for him

Pics:
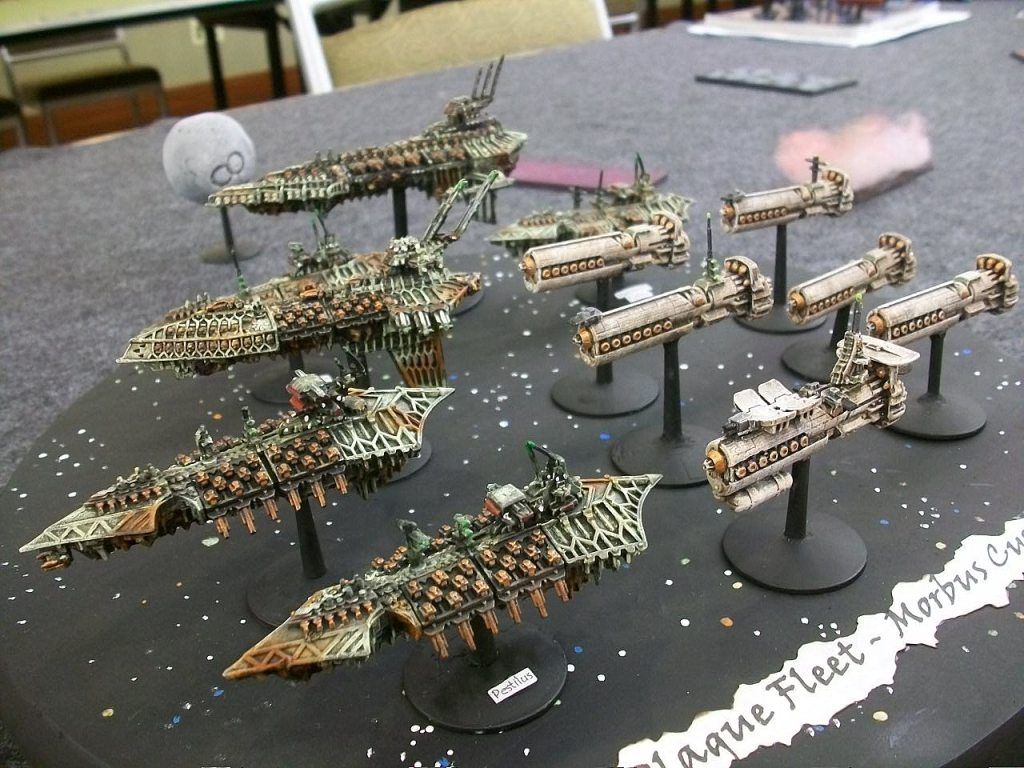
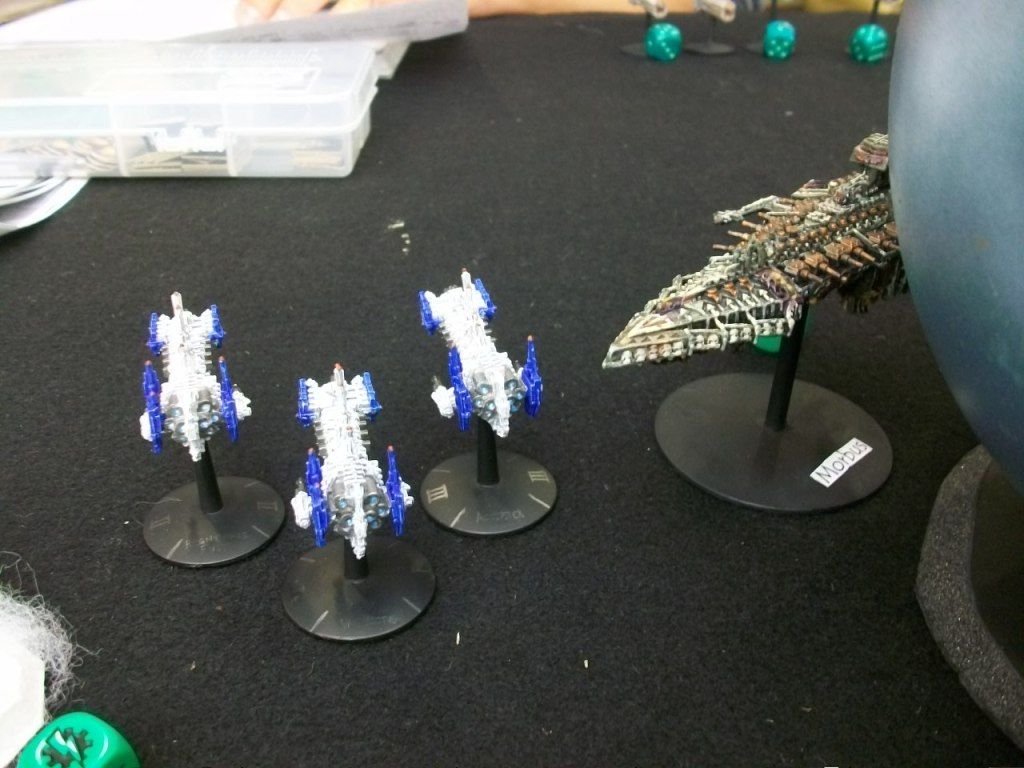
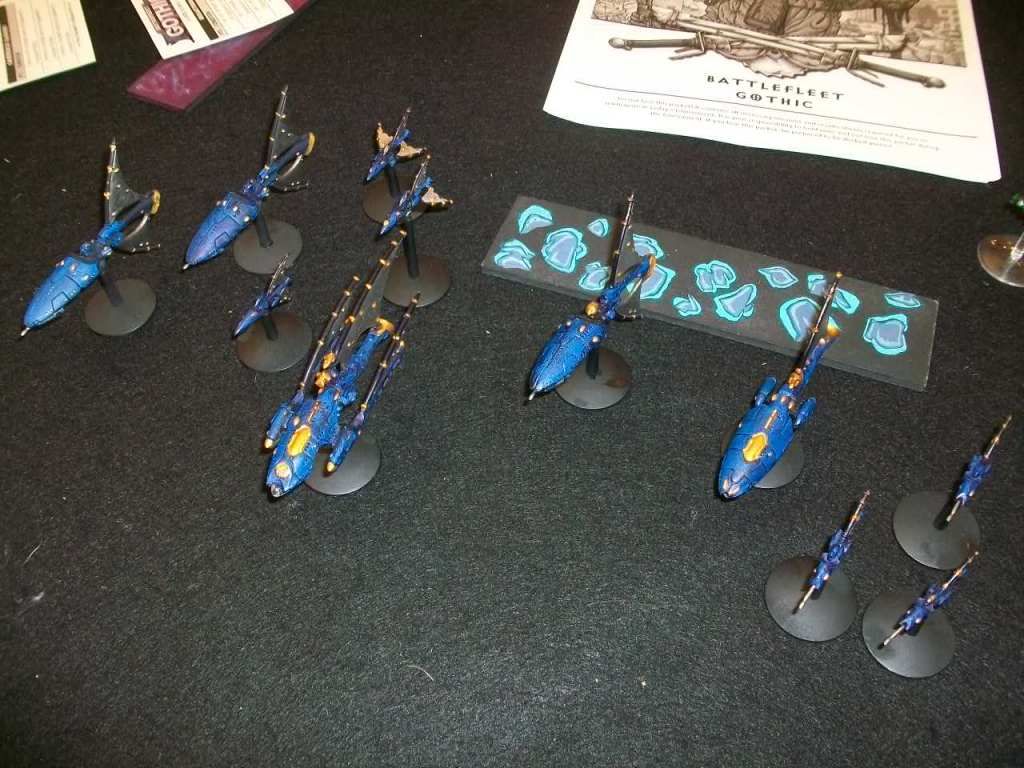
 Game 2 vs the Plaguefleet of Morbus Cyst
Desolator - Warmaster (

, Mark of Nurgle, 1 Reroll
Repulsive - Chaos Lord (
, Mark of Nurgle, 1 Reroll
2 Murders (squadroned with Repulsive)
2 Devastations (squadroned)
3 Transports
2 Armed Transports
Heavy Transport
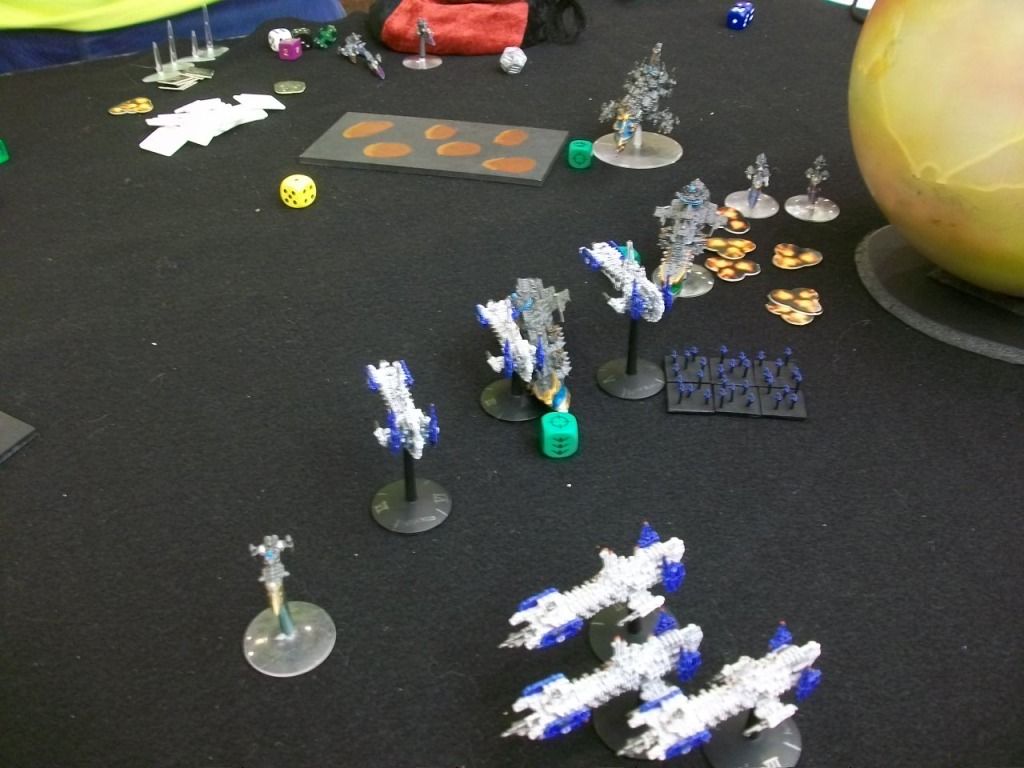
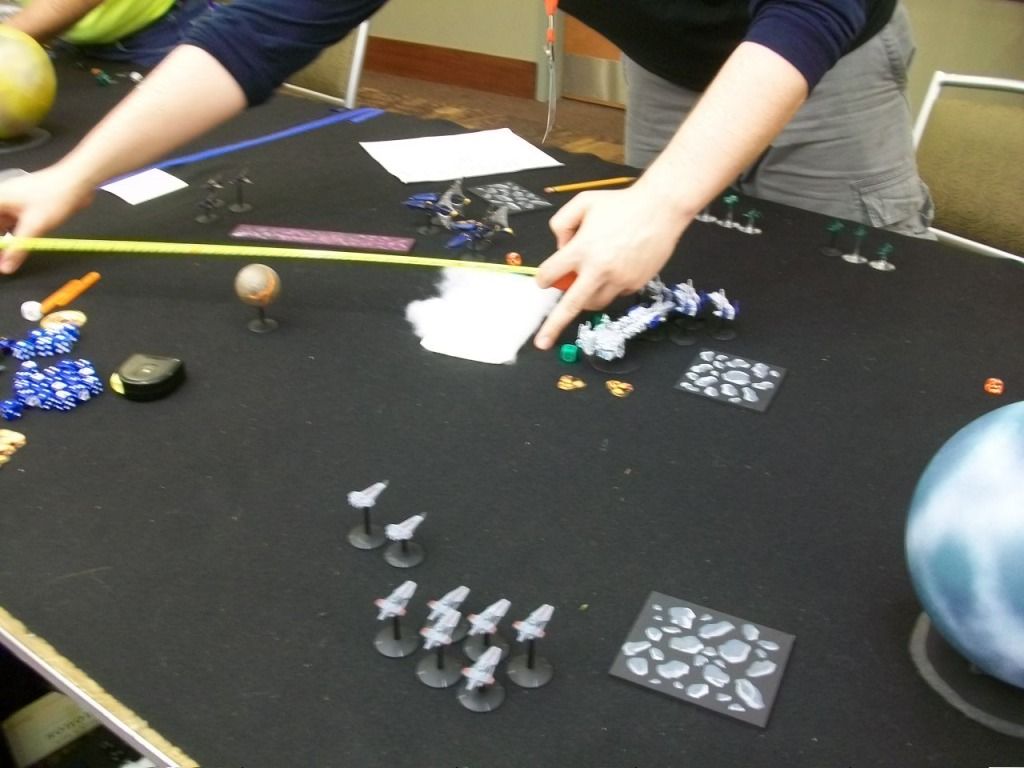
This scenario, called Secure the Artifacts, required you to get your transports within the 20cm gravity well of the planet in the center of the table. Then, if they stayed there until the next friendly movement phase, they landed. For each transport more than your opponent that you land, you get an extra 100 VP. Transports also started the game off the table, moving on during their 2nd turn. I deployed the battle barge in the middle angled toward the right, while the bombardment cruisers were again on my right and the carrier cruisers on the left. He set up his Devastations on the far right and everything else in the middle. For this game I chose Commerce Raiders (destroy transports) and Preservation of Fleet Strength (keep own ships uncrippled).
The first couple turns started off right. The battle barge went AAF to get in close quickly for the following turns, while the other ships cruised forward, with the carrier cruisers swinging left around the planet. On the second turn, a Devastation imploded and the other took only critical hits from the thunderhawks. After that I had air superiority and thunderhawks were sent on non-stop sorties to various targets, dishing out critical hits left and right, especially because he barely shot down any with turrets. Actually, this was a theme throughout the game. I was causing hits and criticals left and right, while he was barely doing much and it made me feel bad, but thems the dice I guess. Still, he did more damage than the ringer, so that's something!
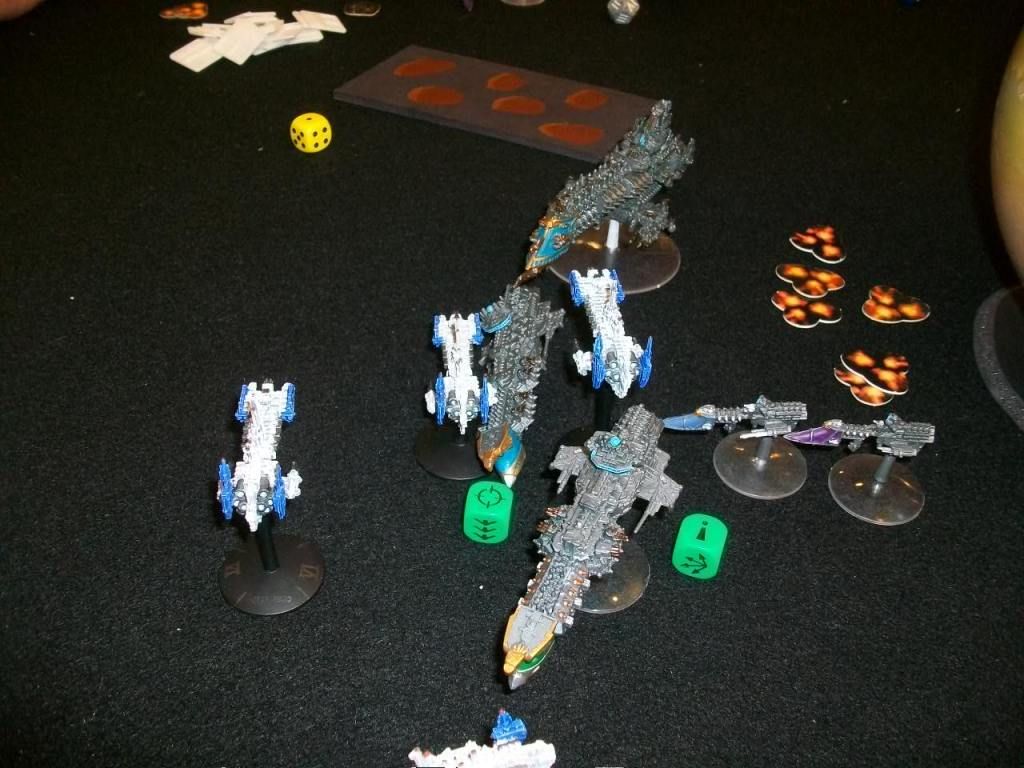
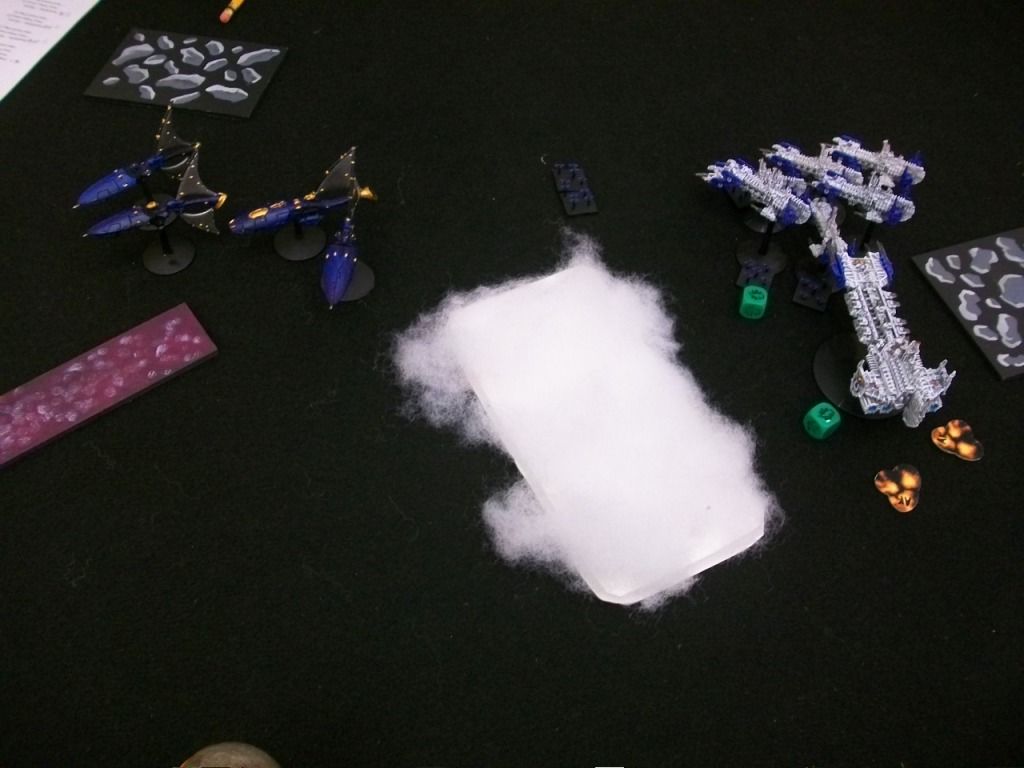
The next couple of turns had me closing in and wrecking more face. He made a ton of brace saves though, minimizing what I could do. My transports came on and rocketed toward the planet, going AAF and being able to get there by the 3rd turn. His fleet swung around the planet and was able to destroy three of them, unfortunately. Still, the other three landed, netting me potential points. My thunderhawks basically destroyed all but his heavy transport stayed intact. I chased, shot, and basically crammed my fleet into the smallest space possible, just like he did. All of that table, and we were playing in eight square inches of it, haha. Except, of course, for the battle barge chasing the devastation around the table, eventually crippling it. Such close quarters led to devastation, as an exploding Murder took the last hit off a strike cruiser, setting it as a blazing hulk. That's okay!
By the end of the game, all but one of my strike cruisers had taken only two damage and the battle barge only one. That was just like an "arg!" moment for him, to have nearly all of my ships only one point away from being crippled and thus worth points.
Result: 782 VP to 220 VP - Minor Victory. I achieved my objectives handily, netting me another 16 battle points. At least I was his only loss that day; he must have made up for the very poor rolling in the next game

.
Pics:
Opening turns - Imploded Devastation is evident.
Hiding behind the planet, eek!
Kraka-booom!
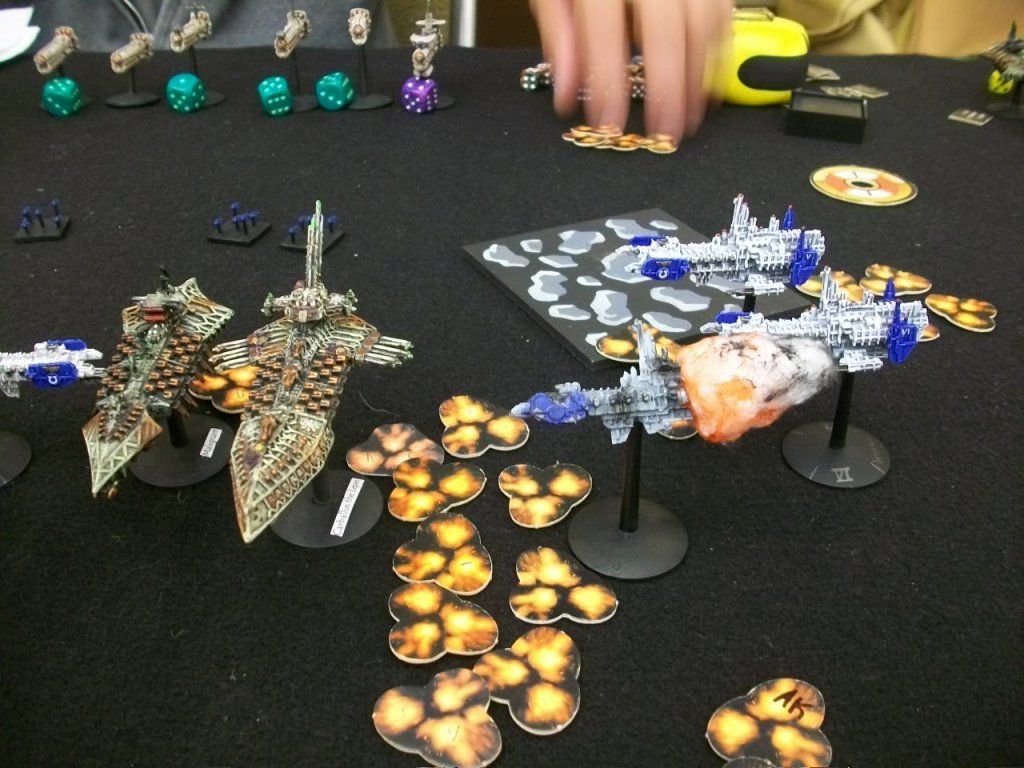
Pincer move.

Uh...help!
Clustered up.
They have reinforcements!
I'm a dice.
Hugs all 'round!
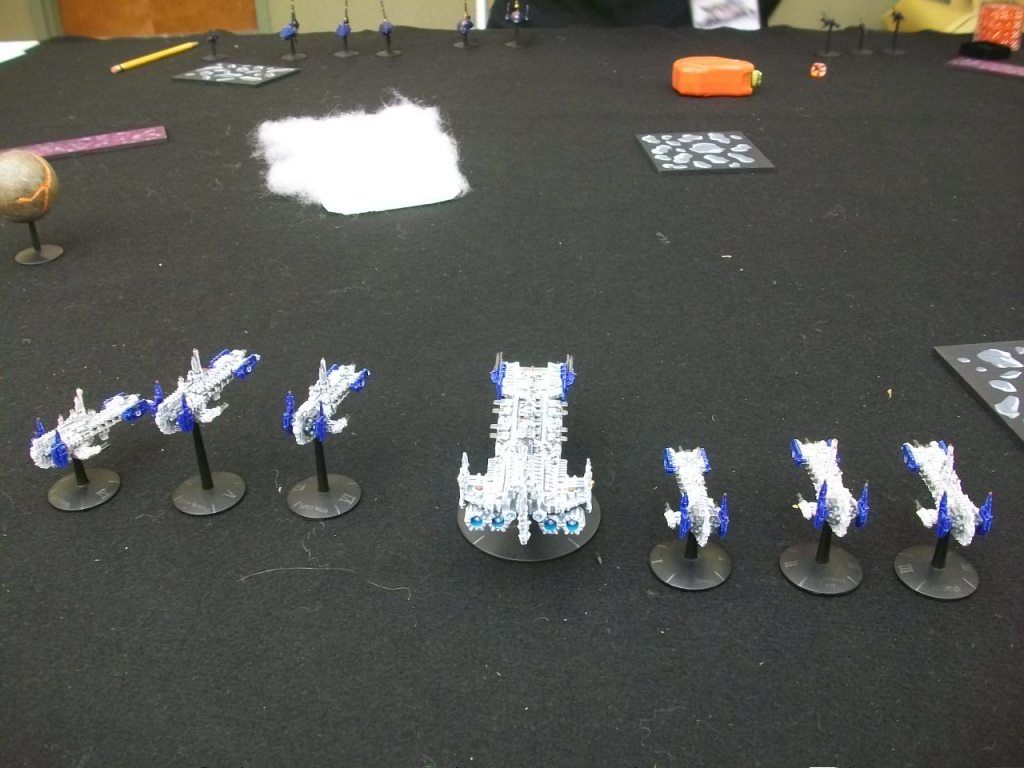
 Game 3 vs Craftworld Eldar
Flame of Asuryan - Prince Yriel, Farseer
Dragonship - Farseer, Prow Weapons Battery, Keel Launch Bays
Wraithship - Prow Pulsar Lance, Keel Launch Bay
Wraithship - Prow Pulsar Lance, Keel Launch Bay
Wraithship - Prow Pulsar Lance, Keel Launch Bay
3 Shadowhunters - Prow Weapons Battery
3 Shadowhunters - Prow Shadow Lance
6 Transports
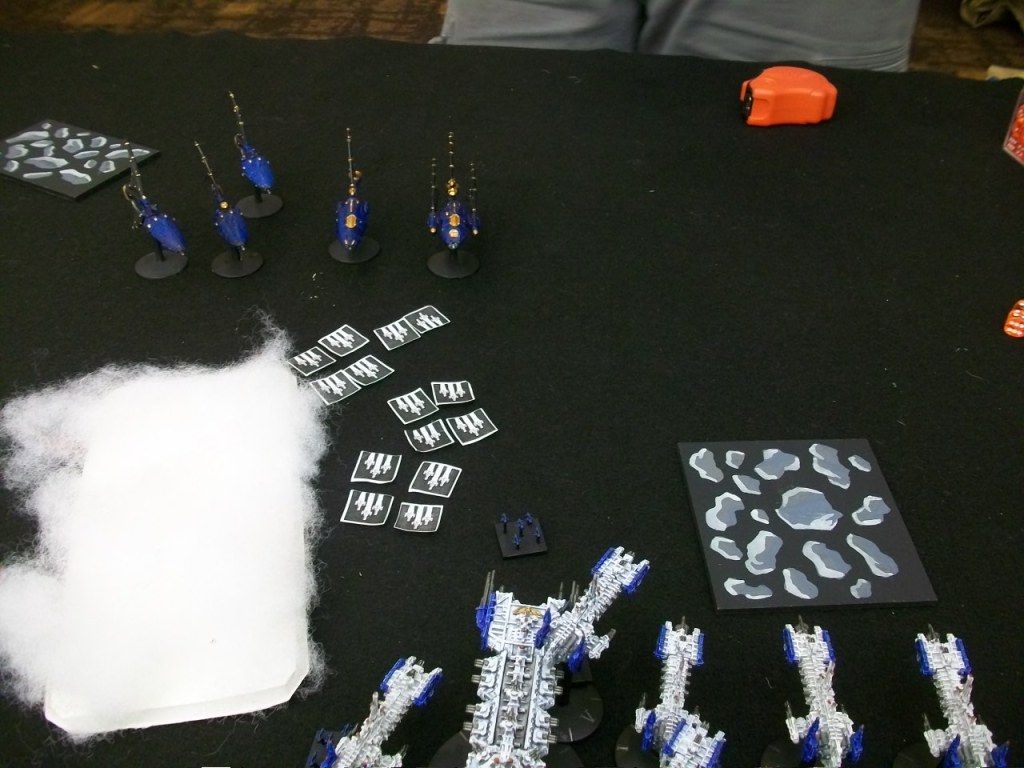
This scenario was a bog standard line up and die, with the added bonus of +100 VP for each transport more than your opponent that you destroy. Naturally I pull Eldar, a race that Space Marines struggle against. Not only that, but this monkey didn't bring his rules...sigh...
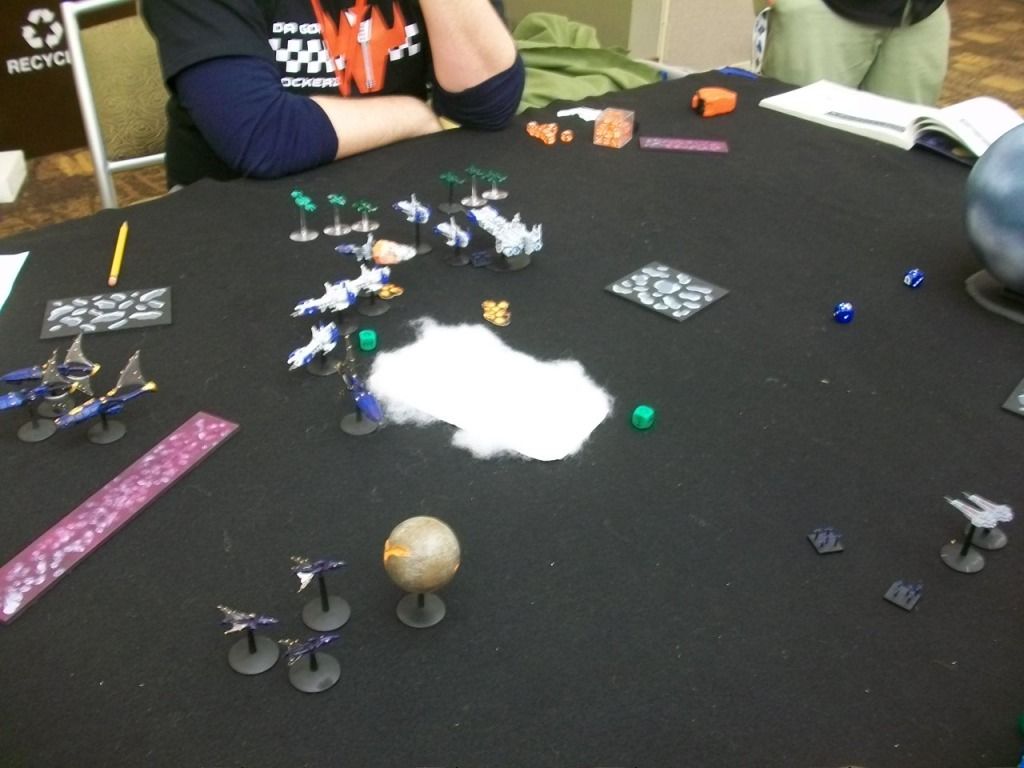
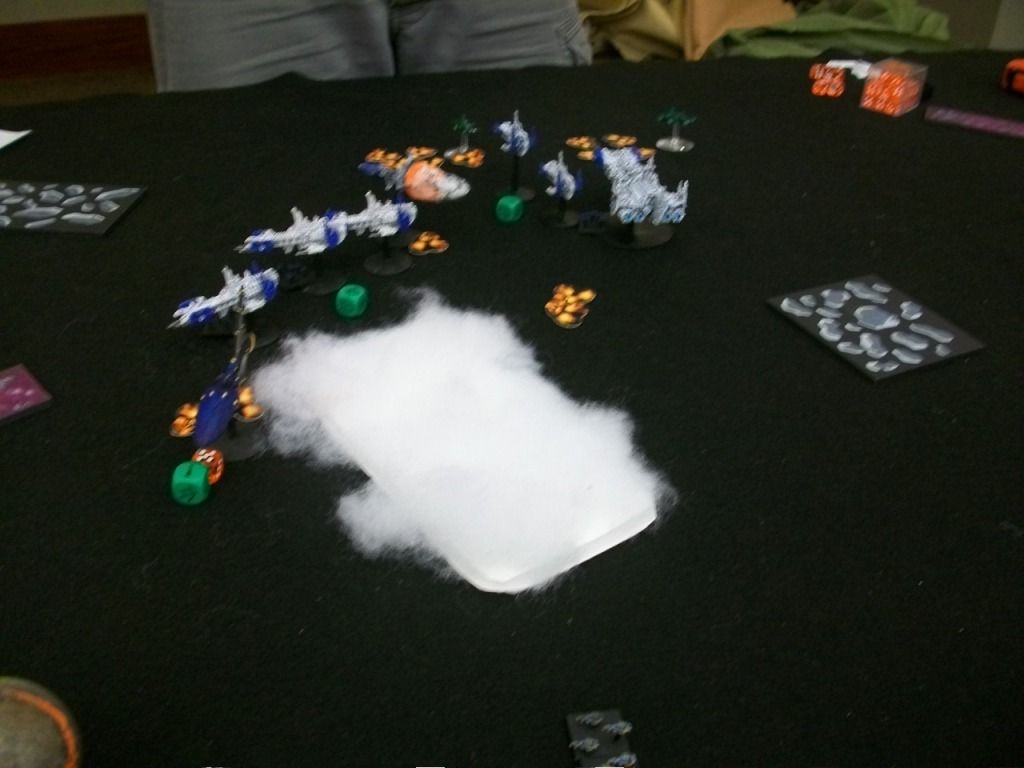
In the pictures you'll see following, the middle of the table had a warp rift and an asteroid field; since the sun was to my back, I knew these were going to be important for my survival. Thus, I deployed all ships to face it, make for the gap and do my best.
This report will be a bit shorter because there wasn't as much action as the others; he did his best to flit around and deny me VP. Early on, my guns and thunderhawks tore into his flagship, crippling it and causing plenty of criticals. This gave him the following dilemma: limp around and eventually get destroyed, or fly into the warp rift and get destroyed (or get a battle point!). He chose the latter, rolling a mean 9 on those three dice, keeping the darn ship alive and spitting it out 60cm to the rear of my armada and basically far away from everything else. It then disengaged...oh well.
That was basically it. A couple escorts went poof and I lost two strike cruisers, but I did blow away all of his transports and only lost two in return, netting me a cool +400.
Result: 549 VP to 320 VP - Minor Victory. I very much didn't achieve my sub mission (get my transports across the table and off his board edge; it was mathematically impossible). 11 more battle points, to cap off my total at a hefty 50 (the 2nd highest was 41).
Pics:
We make for the gap of...space!
So...many...bombers!
Eldar, scattering like cockroaches.
I go...THIS FAR!!!
Get back here!
His transports went poof.
End game.